
Watch the video:
0:00 - Intro
0:50 - What is SDXL 1.0?
1:08 - Using SDXL 1.0 without a GPU
1:33 - Download SDXL for AUTOMATIC1111/Vladmandic
2:38 - Install SDXL Model
3:40 - Optimizing Stable Diffusion (xformers)
4:16 - SDXL 1.0 CRAZY results! Super high quality!!
5:59 - SDXL 1.0 is Uncensored!
6:40 - Fine-tuned/customized models
What is SDXL?
SDXL is the next-generation of Stable Diffusion models. Incredible text-to-image quality, speed and generative ability. Even better: You can download the refiner model and improve images using the image2image tab in a completely new and improved way!
You can read way more information about SDXL via the HuggingFace information page about Stable Diffusion XL.
Downloading SDXL
SDXL is just another model. All you need to do is download it and place it in your AUTOMATIC1111 Stable Diffusion or Vladmandic’s SD.next models\Stable-Diffusion folder.
Download both the Stable-Diffusion-XL-Base-1.0 and Stable-Diffusion-XL-Refiner-1.0 models via the Files and versions tab, clicking the small download icon next to sd_xl_base_1.0.safetensors and sd_xl_refiner_1.0.safetensors respectively.
These models are around 6GB each to download, so you’ll need some extra disk space to keep them around.
Once the refiner and the base model is placed there you can load them as normal models in your Stable Diffusion program of choice.
Using SDXL
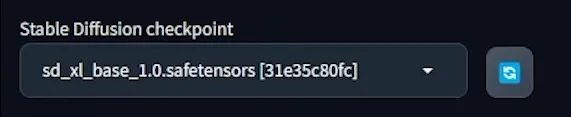
All you need to do is select the new model from the model dropdown in the extreme top-right of the Stable Diffusion WebUI page.
Set the size of your generation to 1024x1024 (for the best results).

And now you can enter a prompt to generate yourself your first SDXL 1.0 image!
Refining images
The most exciting part comes with refining.
Click Send to img2img to further refine the image you generated and have selected.
Once again, make sure to change the Width and Height to 1024x1024, and set the CFG Scale to something closer to 25. You’re aiming to improve the image, not completely regenerate something based on rough shapes and colours in the image. The lower this is, the more subtle the improvements will be, but the more true the image will stay to the original input generated image.
Play around with this to find what suits you best. You can also use this for inpainting, as far as I understand.

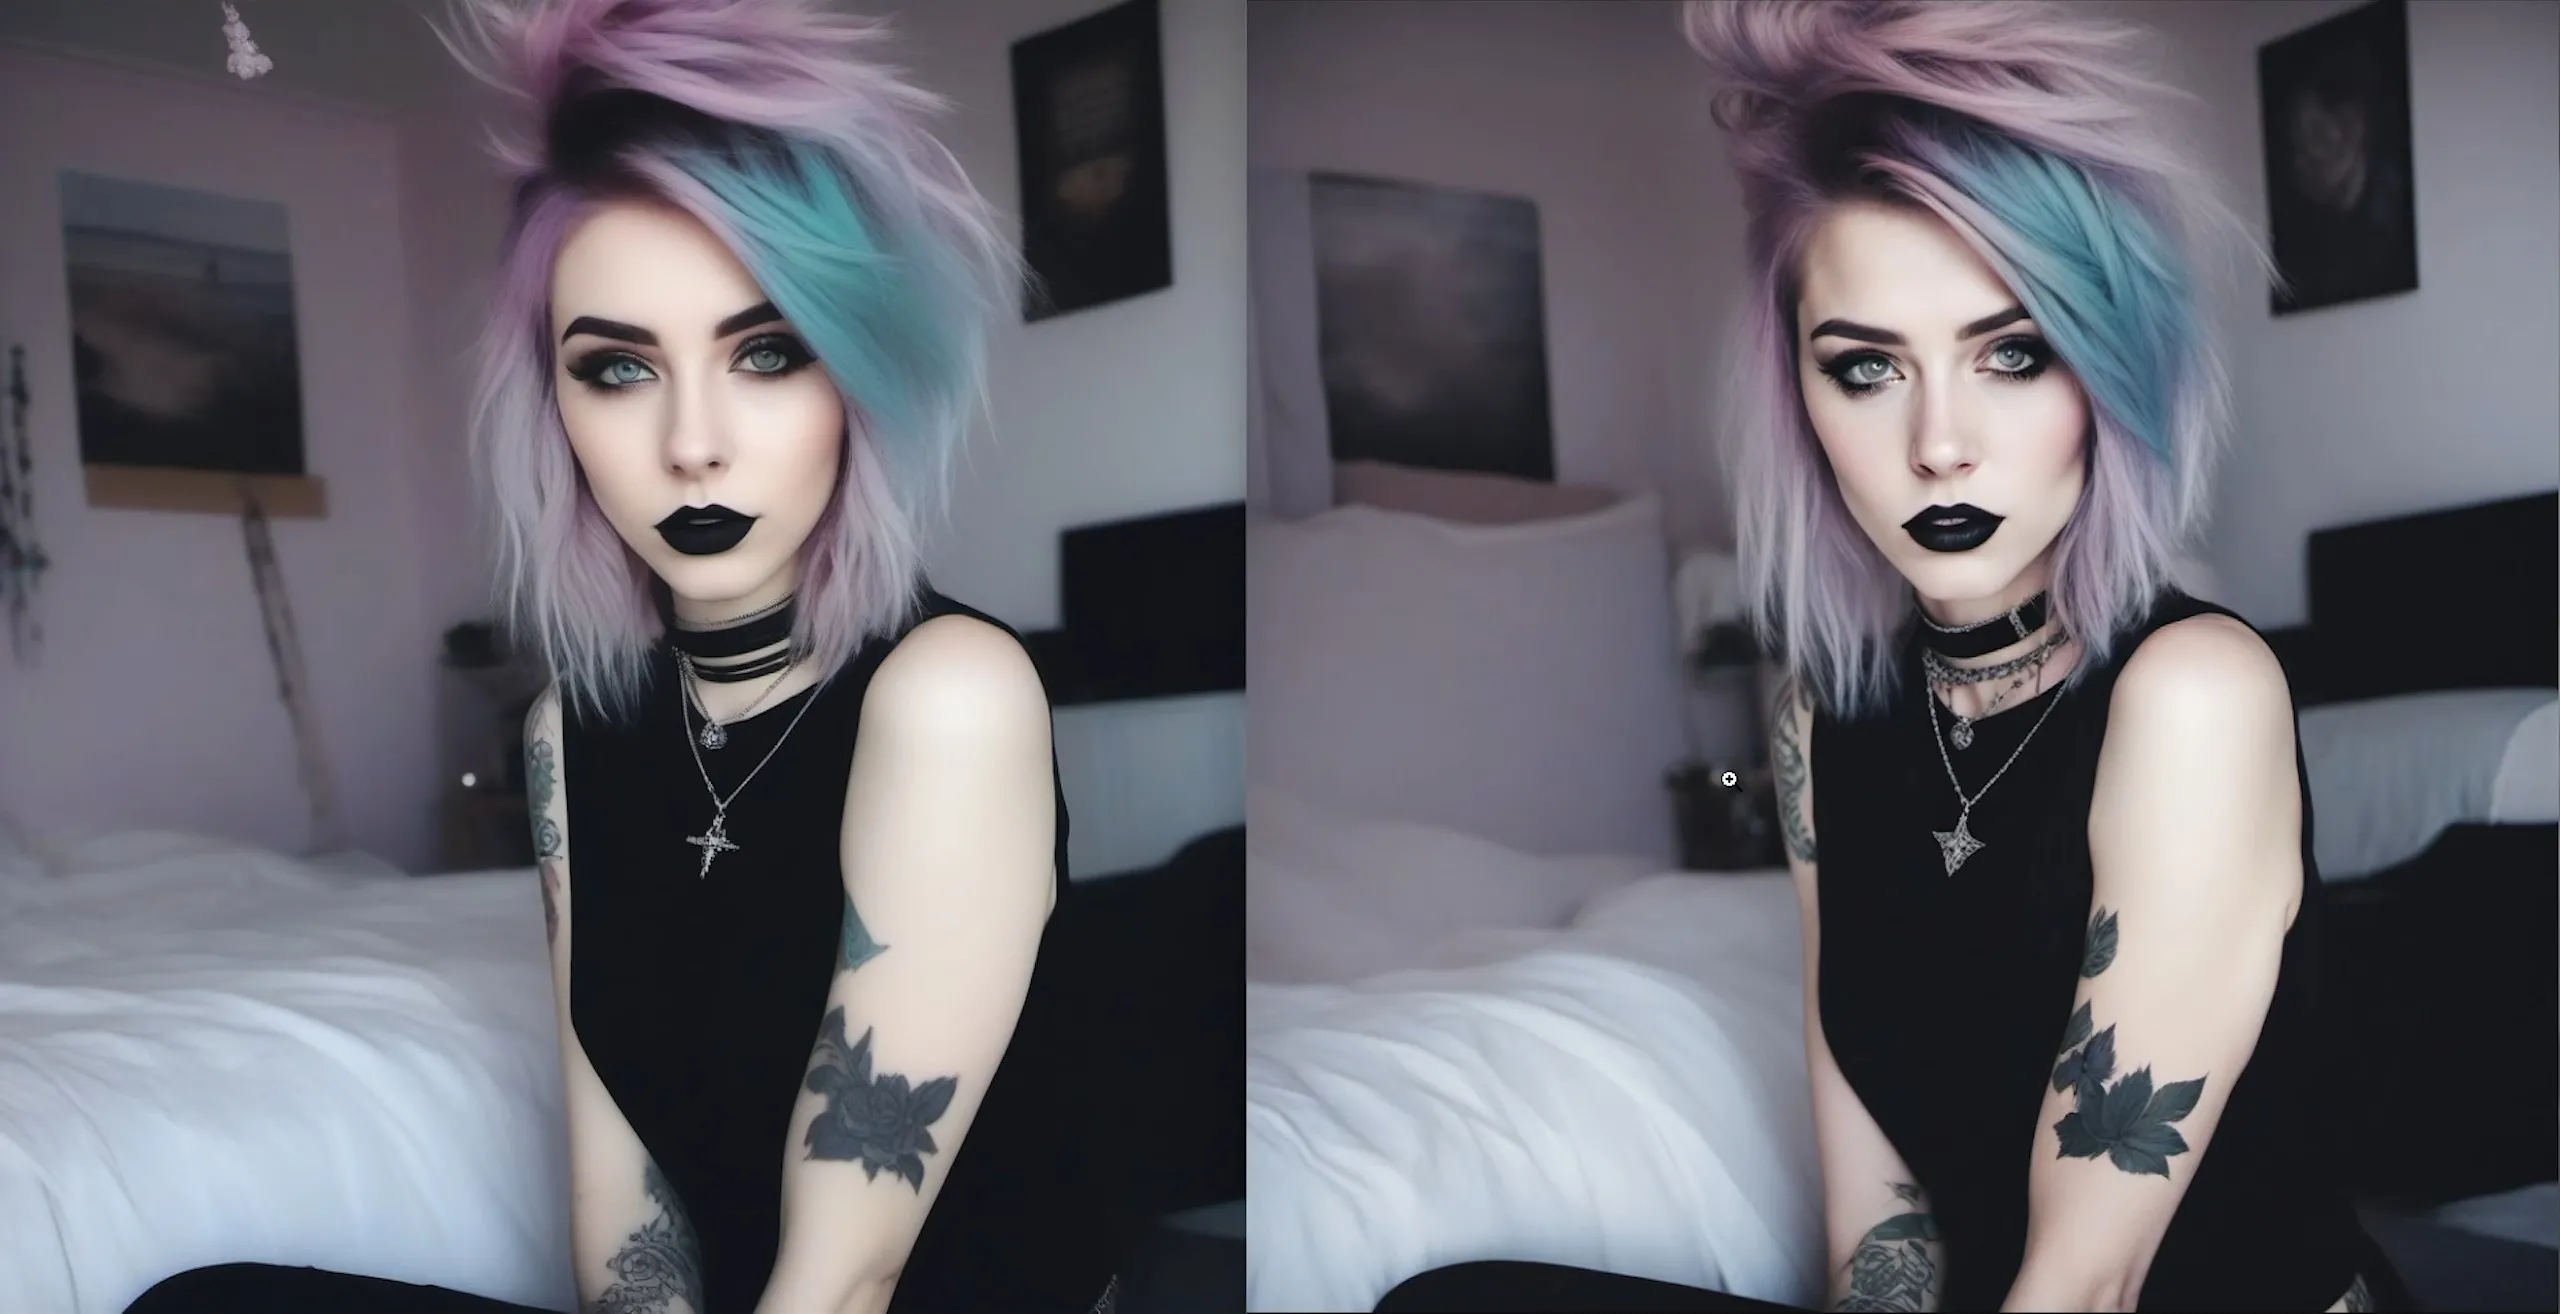
Here’s my results of inpainting my generation using the simple settings above. On the left is the original generated image, and on the right is the refined image. I think there’s a HUGE improvement!
If you get lost, I covered this entire article in-depth in the video linked above. You can follow along with the steps there as well.
