What are Discord Custom Widgets?
Discord Custom Widgets are a new feature - More things for your profile! Spruce it up with images, GIFs and more.
This site/tool improves on Chloe Cinder’s - How to make Discord widgets guide
Jump to:

1. Setup an Application in the Discord Developer Portal
Sign in on the Discord Developer Portal .
You should be on the Applications section (in the sidebar). Hit New Application and give it any name, tick the checkbox and click Create.
The name WILL appear at the top of the widget.
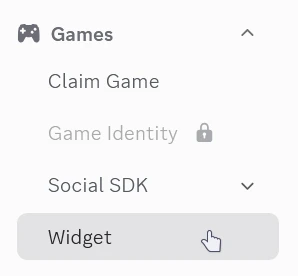
Head to Social SDK under Games on the sidebar
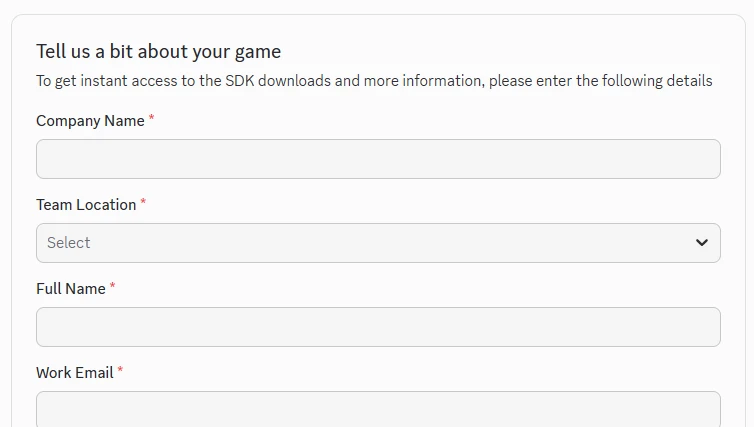
Then fill in the form. You can put anything here.
Fill in Company Name, Team Location, Full Name, Work Email, Role, check the Consent checkbox at the bottom, and click Submit.
Now, copy the code below using the Copy button in the top-right.
| |
Press Ctrl+Shift+I or F12, and head to the Console tab. Paste in the code you copied and press Enter to run it.
You may be prompted to type allow pasting or something similar. Do so, then paste and press Enter if it didn’t work previously.
Refresh the page and under the Games sidebar you should see Widget.
If not, go back to Applications and then back into your Application.
Click then + Create Widget button once you see it.
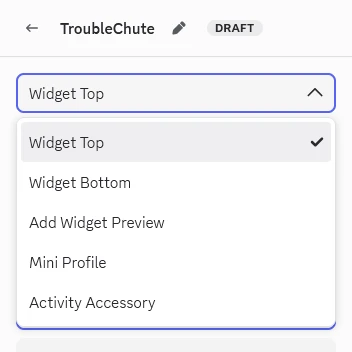
Customization
Now comes the fun part. In the top-left you can choose which part of the widget you want to work on. Customize everything as you see fit.
If you want to set an image next to the app title, do so on the previous page under Overview > General Information
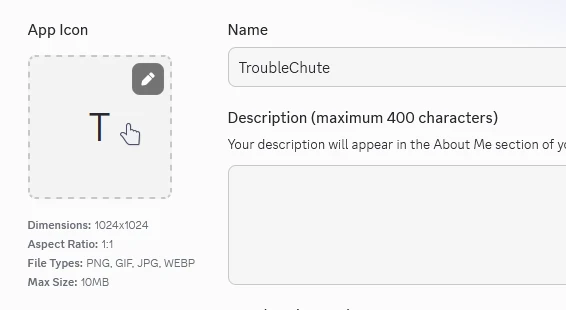
Uploading images
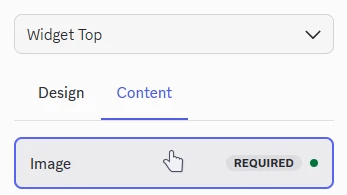
There are a few places you can upload images. Under Widget Top, on the Content tab you can set a title for your widget - As well as an image.
To upload, choose Image, and on the far-right you will see a Value Type and Asset Key.
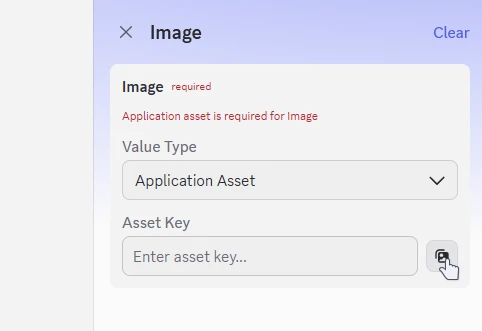
Select Application Asset under Value Type, and then click the image button next to Asset Key. This lets you upload an image from your system.
In the pop-up window choose + Add Asset or you can choose an image you have already uploaded.
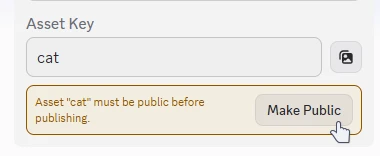
After choosing Upload Asset you can select it on the list, then make sure to hit Make Public right under the Asset Key input.
This will need to be done for all images to be seen by others in Discord.
Setting text

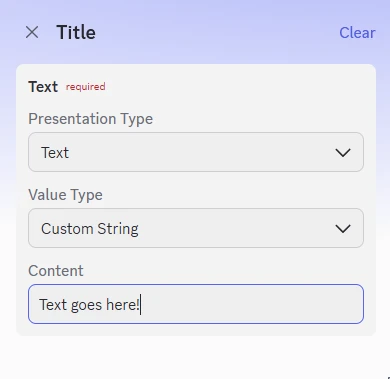
Under Presentation Type you can choose Number, or preferrably Text.
Then, under Value Type choose Custom String for simpler text. User Data is something else entirely. We’ll skip it here.
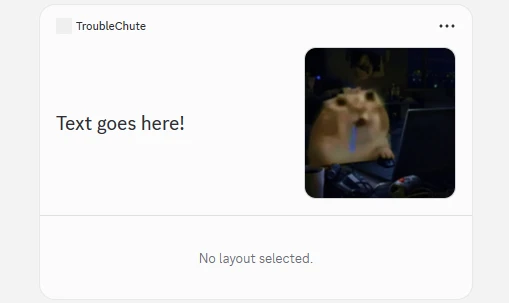
We now have a slightly improved widget, with text! You can do the same under Subtitle 1 and so on.
Subtitle
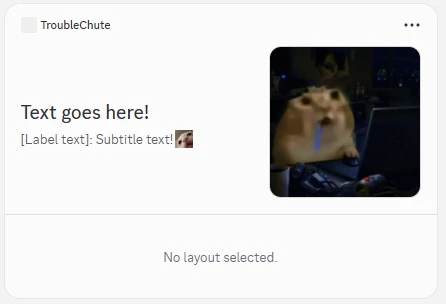
The Subtitle option lets you enter Text for a Label which you can turn on with a checkbox. This text appears before the normal Text, followed by a : colon.
You can also turn on and set an Icon exactly the same way we set an image. You can even upload GIFs!
Widget Top designs
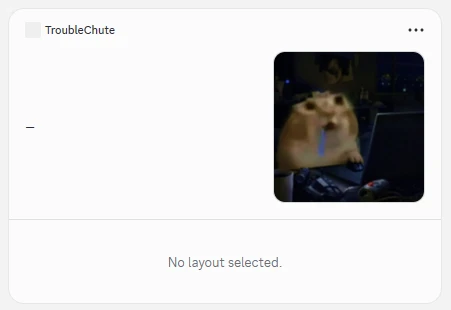
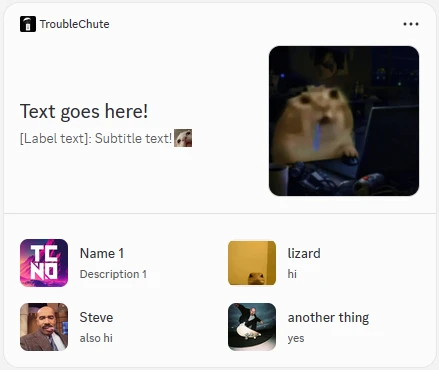
For Widget Top there are 2 designs:
Widget Bottom
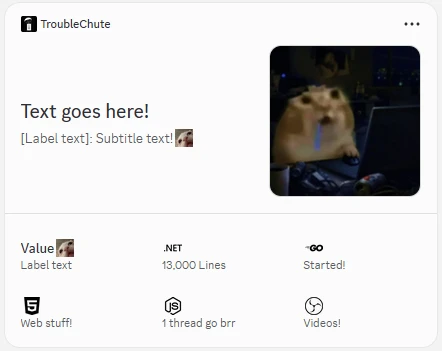
You are required to customize the Widget Bottom.
Progress widget
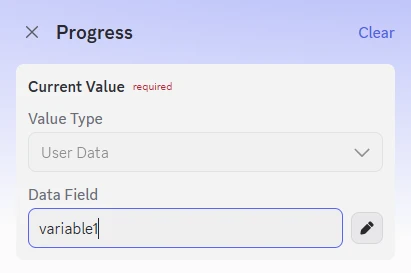
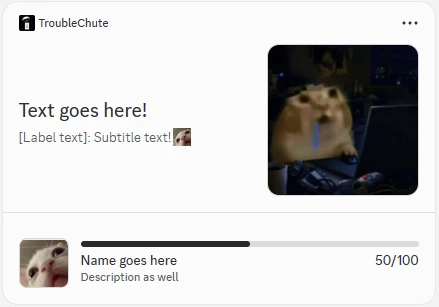
The Progress widget requires the use of User Data.
Enter any text here. This is a placeholder, or variable. What you name it doesn’t matter. The text you enter here doesn’t show on the widget.
Click the pencil icon next to it.
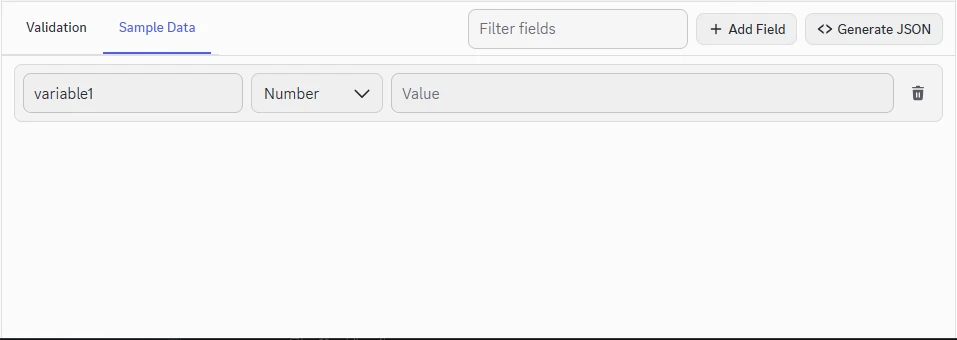
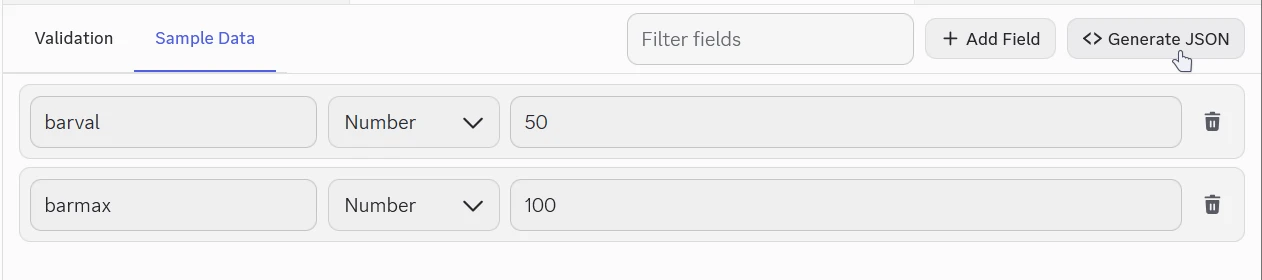
A new section will open at the bottom - In here under Sample Data you can fill in the same key we set if it’s not there already.
The text you enter on the right side under Value is what appears on your widget.
For the progress bar we’ll choose Number, and enter something like 50.
Now under Max Value on the sidebar you can set the max size of the progress bar. If we enter another key, and set the value to 100 the progress bar will be half full!
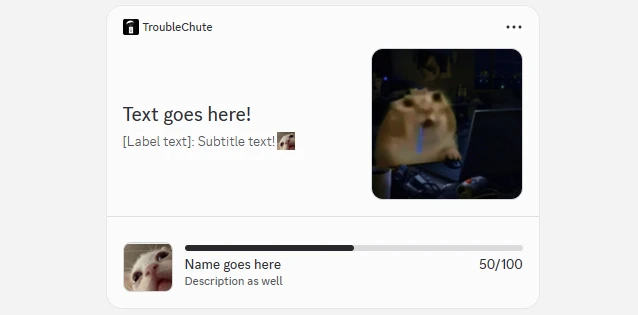
We now have a customized progress bar!
Finalizing
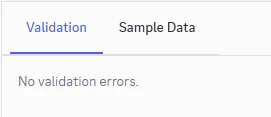
We’re basically done, but if you still have the Sample Data section open you can also find a Validation tab.
We still need to “Add Widget Preview” and “Mini Profile”.
Widget Preview
The Widget Preview is seen by you only.
Under Add Widget Preview choose Hero and under Content add any image you already uploaded.
Mini Profile
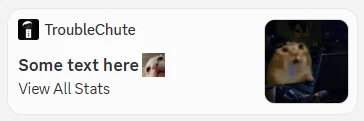
This one is seen by people when they click your profile in a chat or on the sidebar. The full thing is seen in your full-size profile.
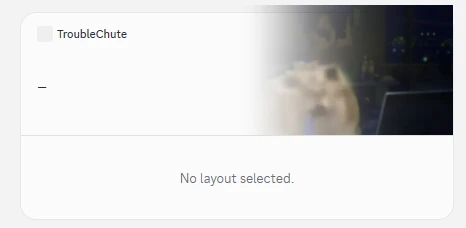
Choose either Hero Stat or Contained Stat - The hero has the image fade on the left, the contained has it within a square.
Saving everything
Assuming the Validation tab at the bottom says No validation errors hit Save Changes in the top-right, followed by Publish right next to it.
Applying
Click the Back button at the top-left of the page.
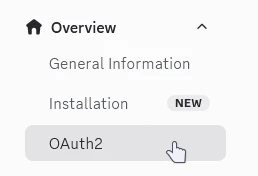
OAuth under OverviewUnder Redirects choose Add and enter: https://discord.com or any other https website, then press Save Changes in the prompt that popped up.
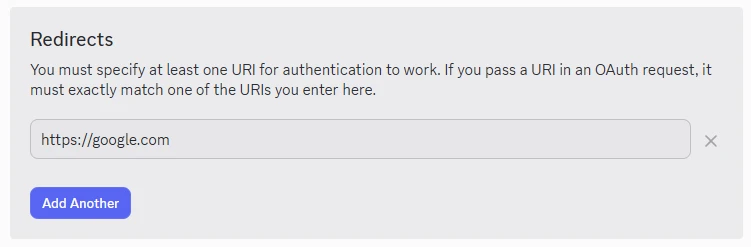
Further down under OAuth2 URL Generator. Make sure both openid and sdk.social_layer are checked. Select https://google.com under Select redirect URI and then copy the generated URL.
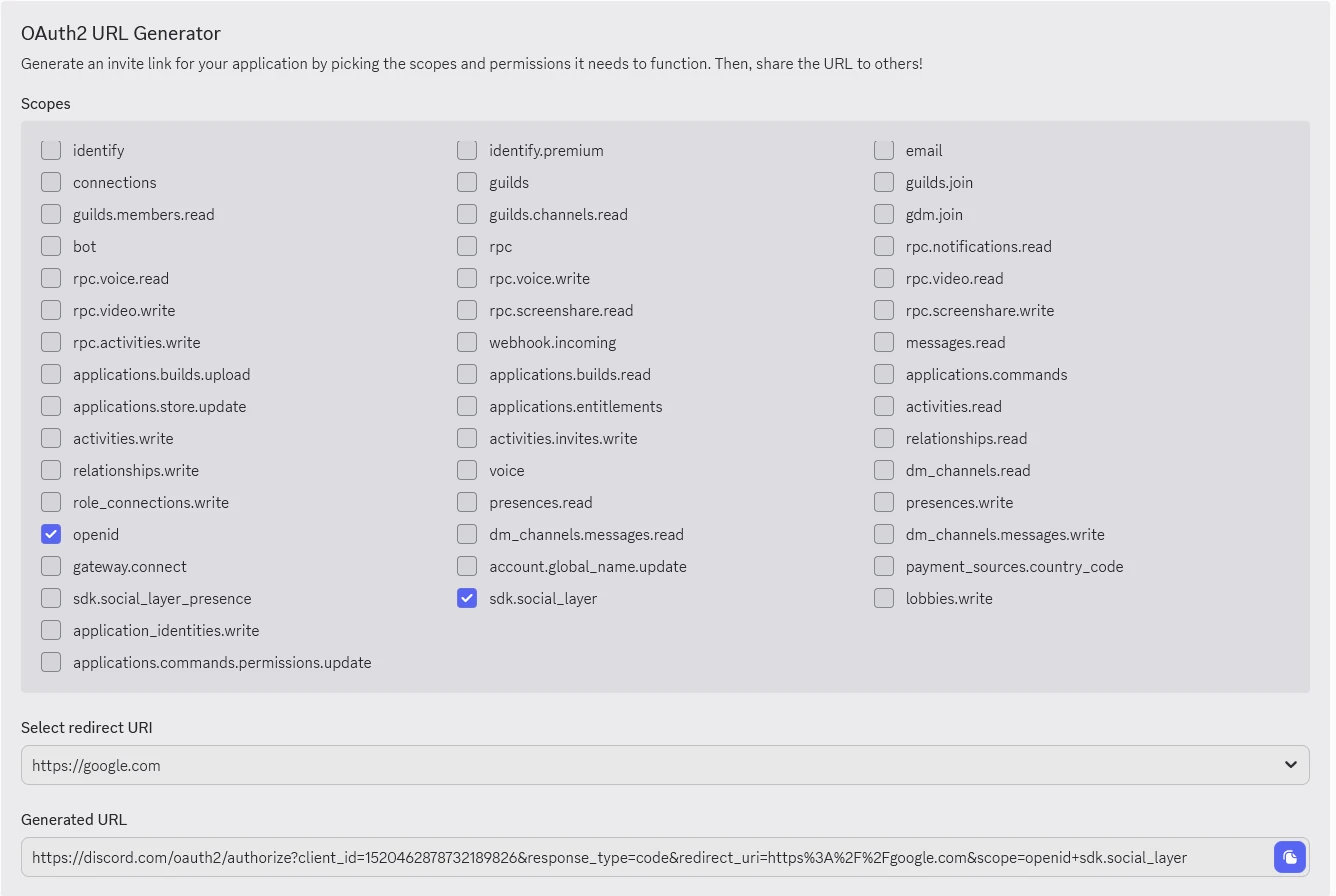
Paste this link into a new tab BUT you need to change response_type=code to response_type=token – Change “code” to “token”
Press Authorize and you’ll be taken to Google, or the address you entered.
Equipping your new widget
Thanks to the Discord Previews
server, and this thread
’s code from user .dziurwa:
| |
Head back to the Overview > General Information tab in the Discord Developers website.
Then find Application ID and click Copy.
Then click Copy next to the code above (as we’ve replaced APPLICATION_ID with the code you put in).
You will need to open the same Ctrl+Shift+I or F12 window in Discord itself on your desktop, or on the web. As long as you see your servers or channels you’re in the right place to run the code. Again on the Console tab paste in the code and hit Enter.
Nothing should happen once the code runs.
However: Head to User Settings by clicking the cogwheel next to your name in the bottom-left.
Click Edit Profiles right under your username in the top-left.
Under Profile Widgets choose Add Widgets, then + Add Widget and now you can choose your widget.
If you’re like me and it’s not there – It might already be suggested under Board on your profile! Just click the Check button and Save.

Finally:
Your game stats are still syncing. Keep playing! will appear forever, as there’s no game or app providing this info. If you’re using a Progress bar that will also be stuck as loading until we do this.
To do so we need PATCH some information to Discord’s API. A normal website cannot make this request directly because browsers block it with CORS, so the form above generates a terminal command instead. Your info and token do not leave this page until you paste and run one of the commands.
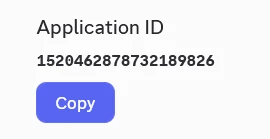
Application ID
This we copied earlier from Overview > General Information under Application ID.
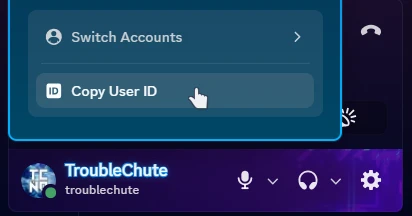
Your Discord User ID
Click your username in the bottom-left of Discord and choose Copy User ID at the bottom of the popup.
If this is missing head to User Settings by clicking the cogwheel next to your name. Under the Developer tab turn on Developer Mode.
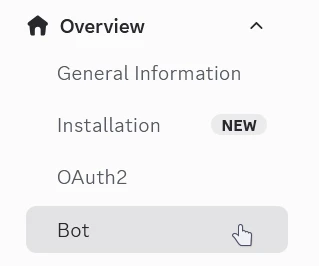
Bot Token
Under Overview > Bot scroll down and press Reset Token.
Click Yes, do it! then you might need to verify with your password or 2-factor.
Finally you can click Copy under Token where the bot token is now visible!
JSON string
Under Games > Widget.
At the bottom of your screen on the Sample Data tab you should see a <> Generate JSON button on the right-side. Click this and paste the value here:
Enter your values here:
Copy the generated command below and paste it into your terminal.
Due to User-Agent not being possible to set in browsers, you need to run the API command from somewhere that’s not a browser (That includes what you’re reading this in, as well as Discord itself).
PowerShell
On Windows hit Start or Windows and open a PowerShell window where you can paste the following command and hit Enter.
| |
curl
On Linux/Mac you can use this instead in a terminal there
| |
Just like that; you’re done! Your brand-new widget is set on your profile.
You can repeat this process just about as many times as you want, with one new Application per widget.
It’s a lot of steps, but there’s a LOT of functionality you can get from this.