Note about TPM
While a lot of motherboards support Secure Boot, most (even semi-modern) motherboards have a TPM or TPM 2.0 chip physically present.
If your motherboard does not have a dedicated TPM, it can come built-in to your CPU. This usually comes in a few names. Keep an eye out for:
AMD fTPMor similar on AMD platforms.Intel IPT/PPT (Platform Trust Technology)on Intel systems.
If a dedicated chip is present it can show as dTPM or fTPM, for example. You may need to search a specific guide for your exact motherboard model if this generalized guide does not help you.
Note about UEFI mode
Enabling Secure Boot or TPM often requires UEFI mode to be enabled as well. While this is just a one-click toggle in the firmware settings, you do need your Windows configuration and drive to match BEFORE enabling this, or you may not be able to boot at all until this step is undone. Your drives need to be the newer GPT partition format.
Please view and verify UEFI mode can be enabled by checking the Convert MBR drives to GPT Guide.
Reboot into firmware settings
If you’re logged into Windows:
- Open this guide on another device, as your system will only show firmware settings when you’re in the UEFI/BIOS settings screen.
- Press
StartorWindowsand search forCMD. OpenCommand Promptas Administrator. - Type:
shutdown /r /fwand press Enter to reboot your system directly into your firmware settings.
Alternatively:
- Reboot your system as normal.
- While booting: when you see your motherboard’s logo there is usually text below saying
Press F2,F12,Deleteor any other combination of buttons to enter Settings, BIOS or UEFI. Press that key while still on this screen. - You should now be in your BIOS/UEFI settings ready to adjust your configuration.
On my system I needed to press F2.
You should now be on your BIOS/UEFI Configuration Screen
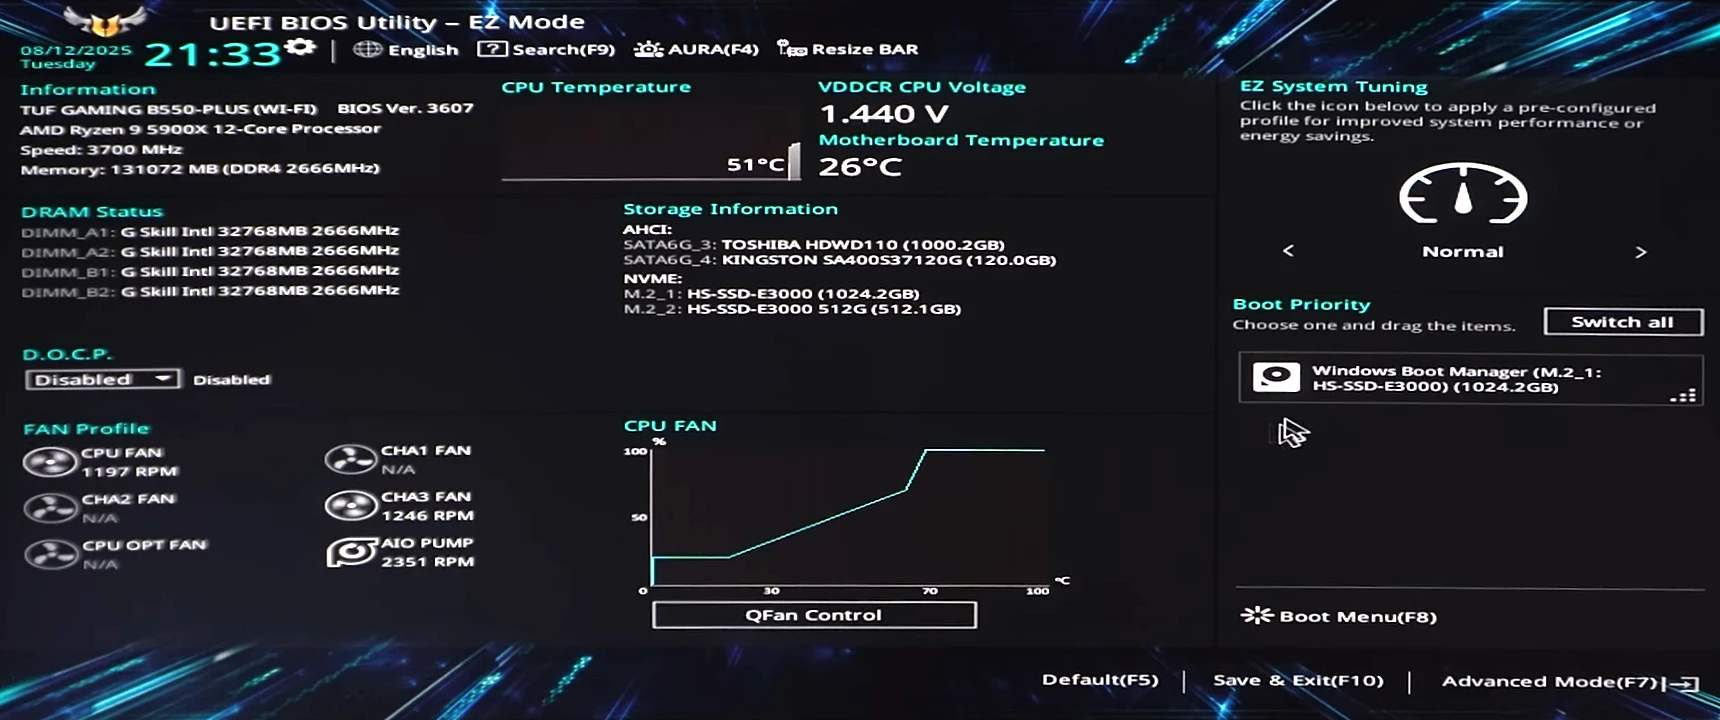
Enable UEFI mode
This is displayed slightly differently - even from motherboard to motherboard from the same manufacturer.
- Use
F7to enter Advanced Mode (you’ll see it at the bottom-right). You may also be able to click this, or it could be a different key.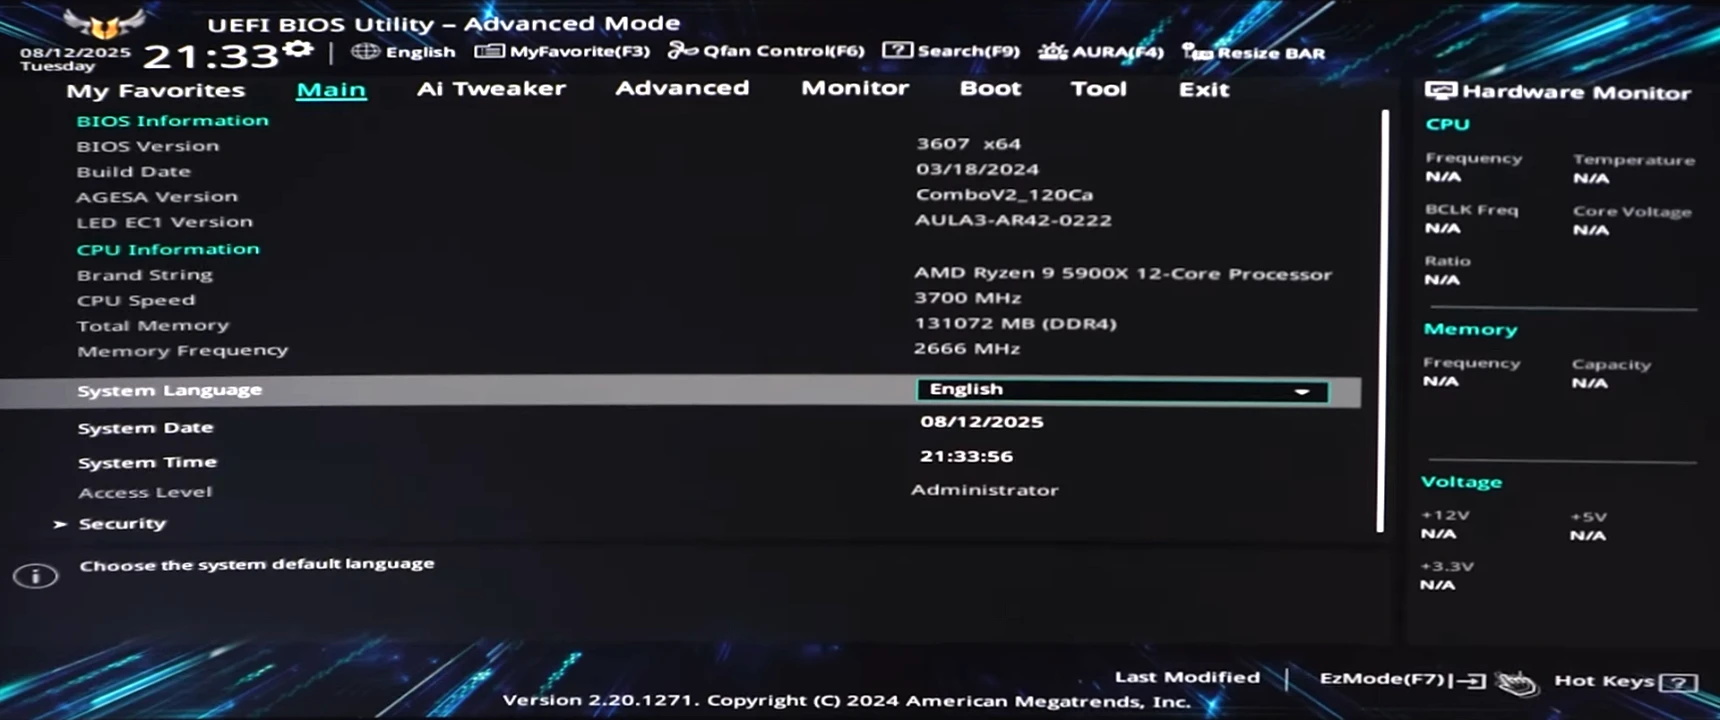
- Use the arrow keys to navigate to the
Boottab at the top of your screen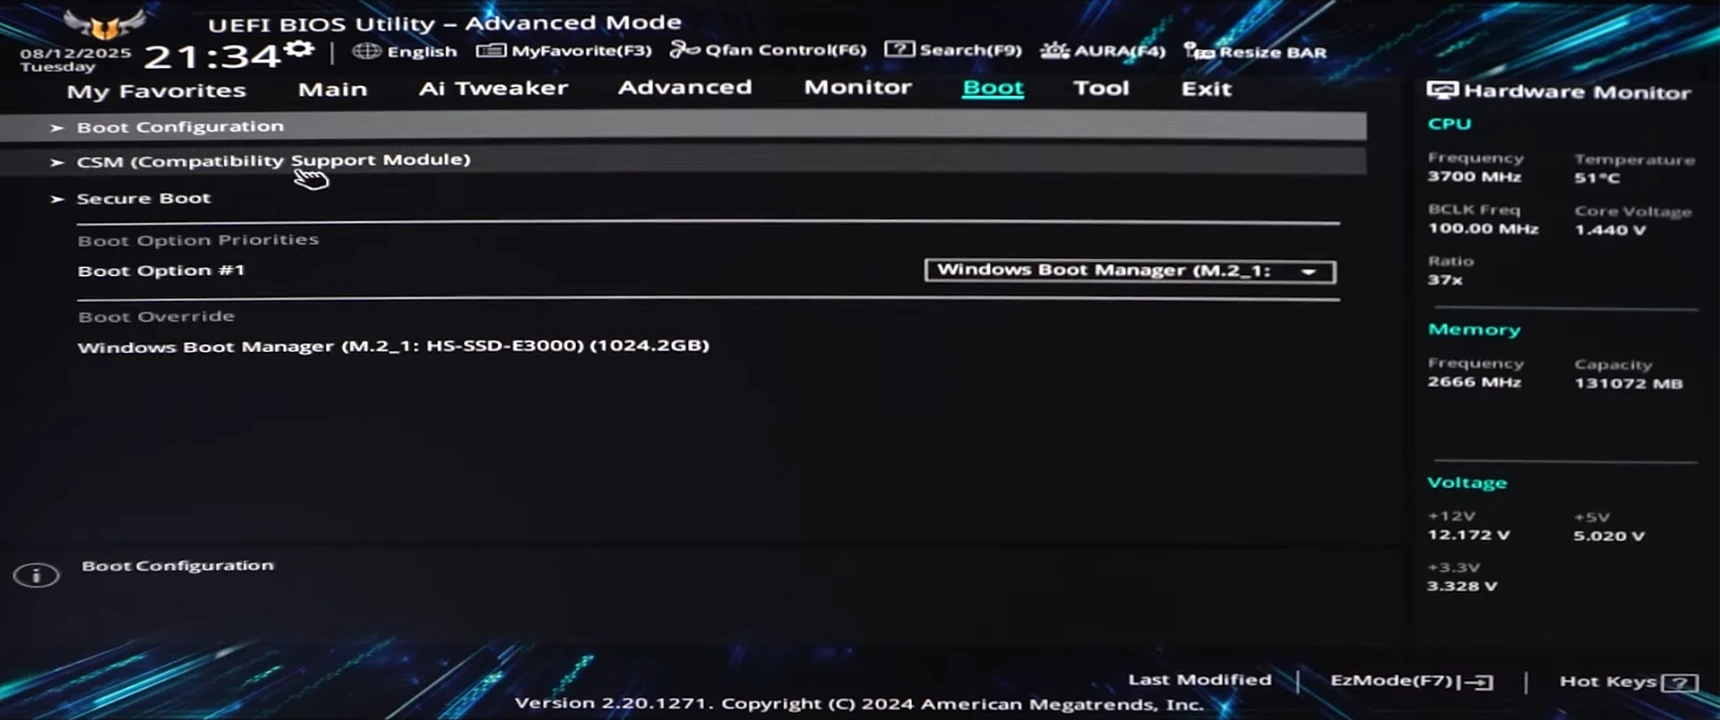
- Click on
CSM (Compatibility Support Module) - Click
Launch CSMand set it toDisabled. This will turn off Legacy mode, and enable UEFI mode.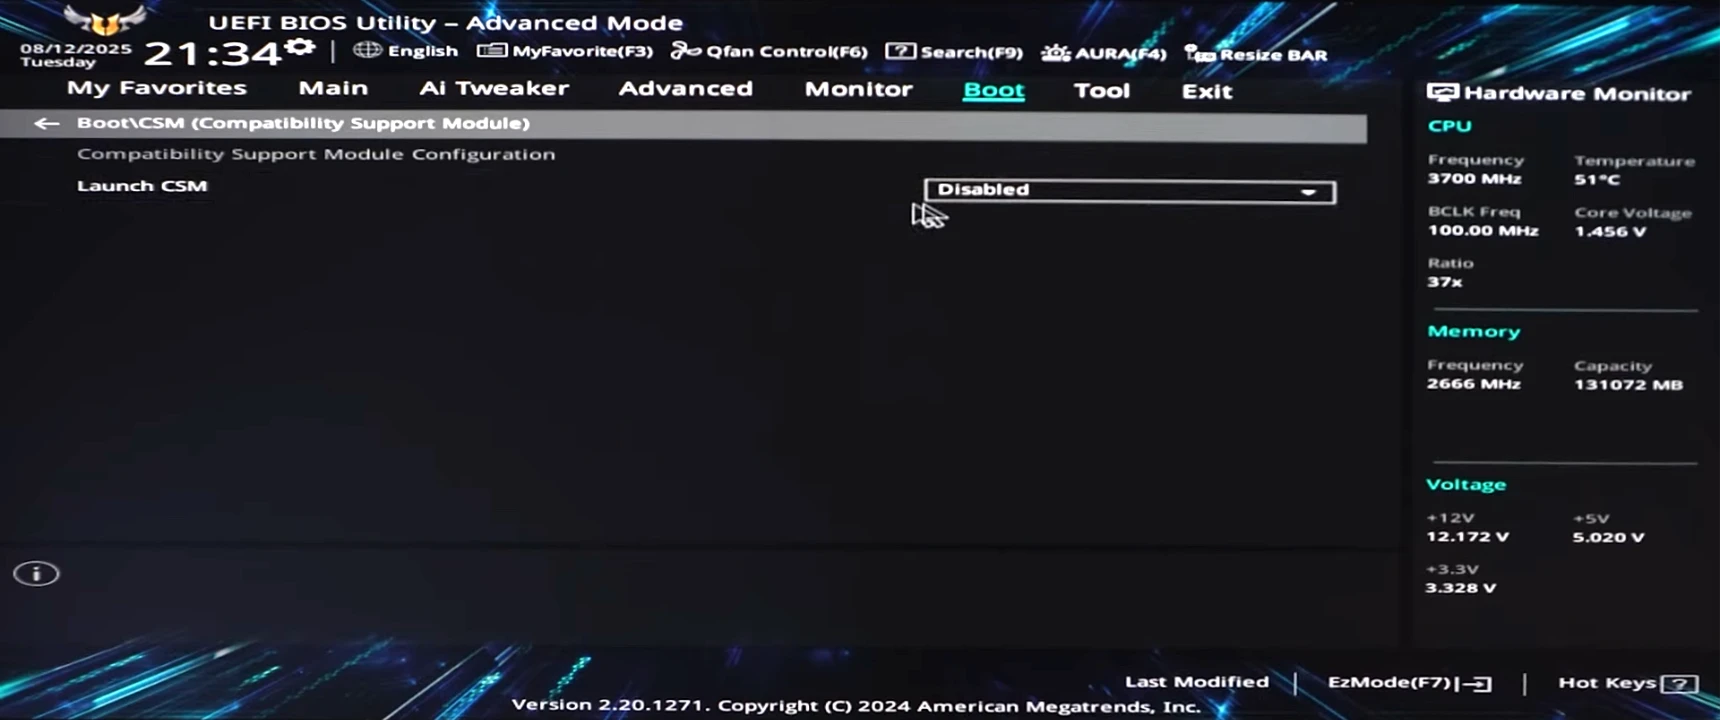
- Note: If you just changed into UEFI mode, you may have a restart pending before more settings can be adjusted. Hit Escape, and use the Right arrow to get to the
Exittab. ChooseSave Changes & Reset(Reset refers to the power, not your configuration!).
You should now boot into Windows with UEFI mode enabled!
Enable Secure Boot
- Head back to the
Boottab at the top of your screen
- Click
Secure Boot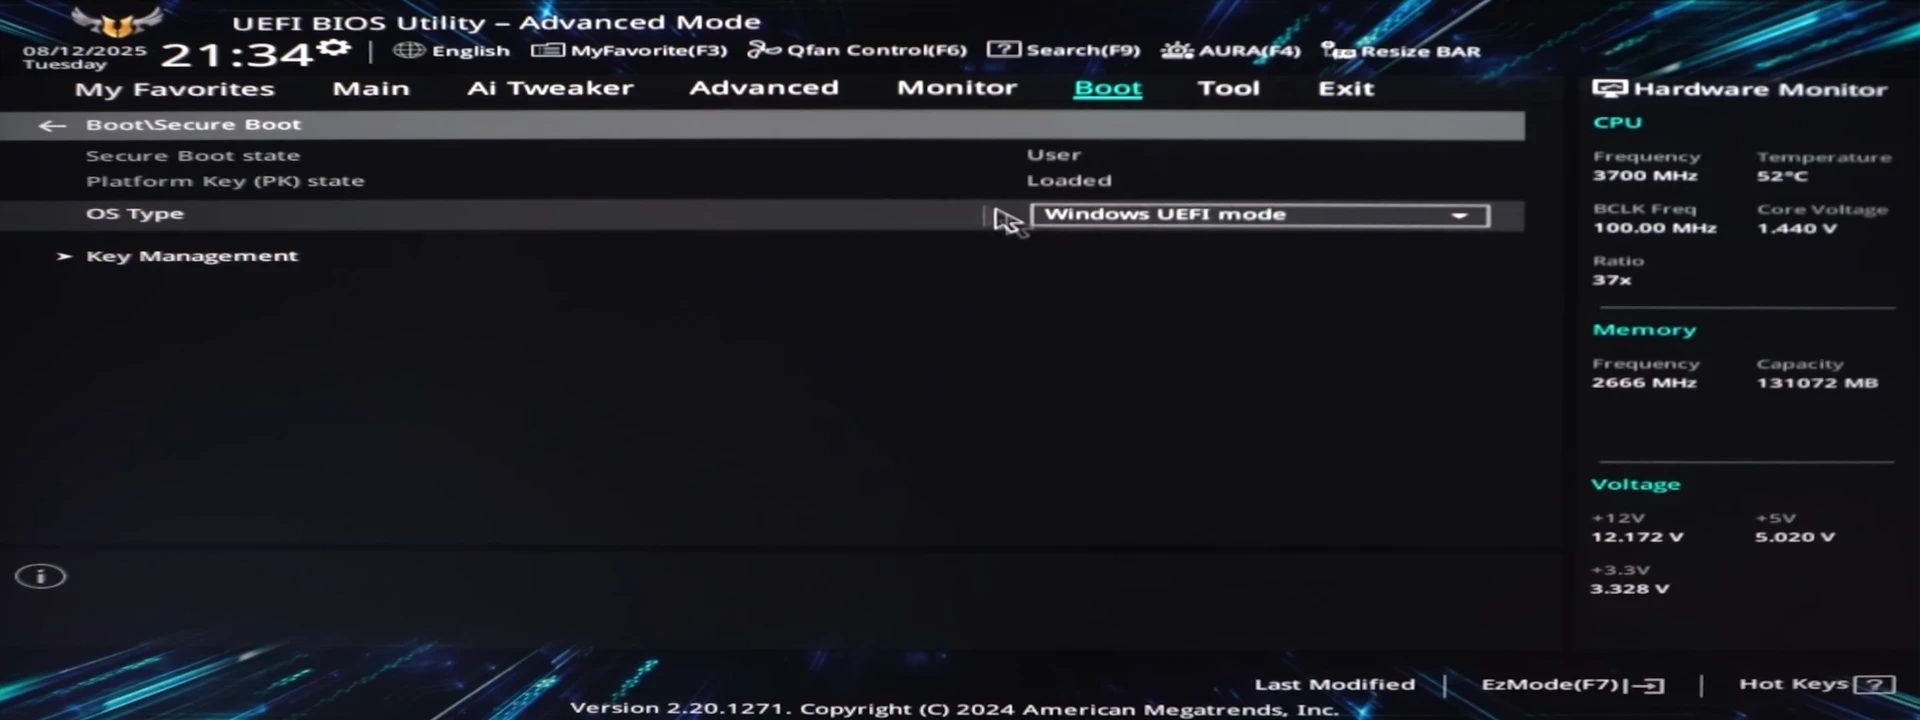
- Make sure
OS Typeis set toWindows UEFI Modeinstead ofOther OS. This will enable Secure Boot.
Enable TPM
- Select the
Advancedtab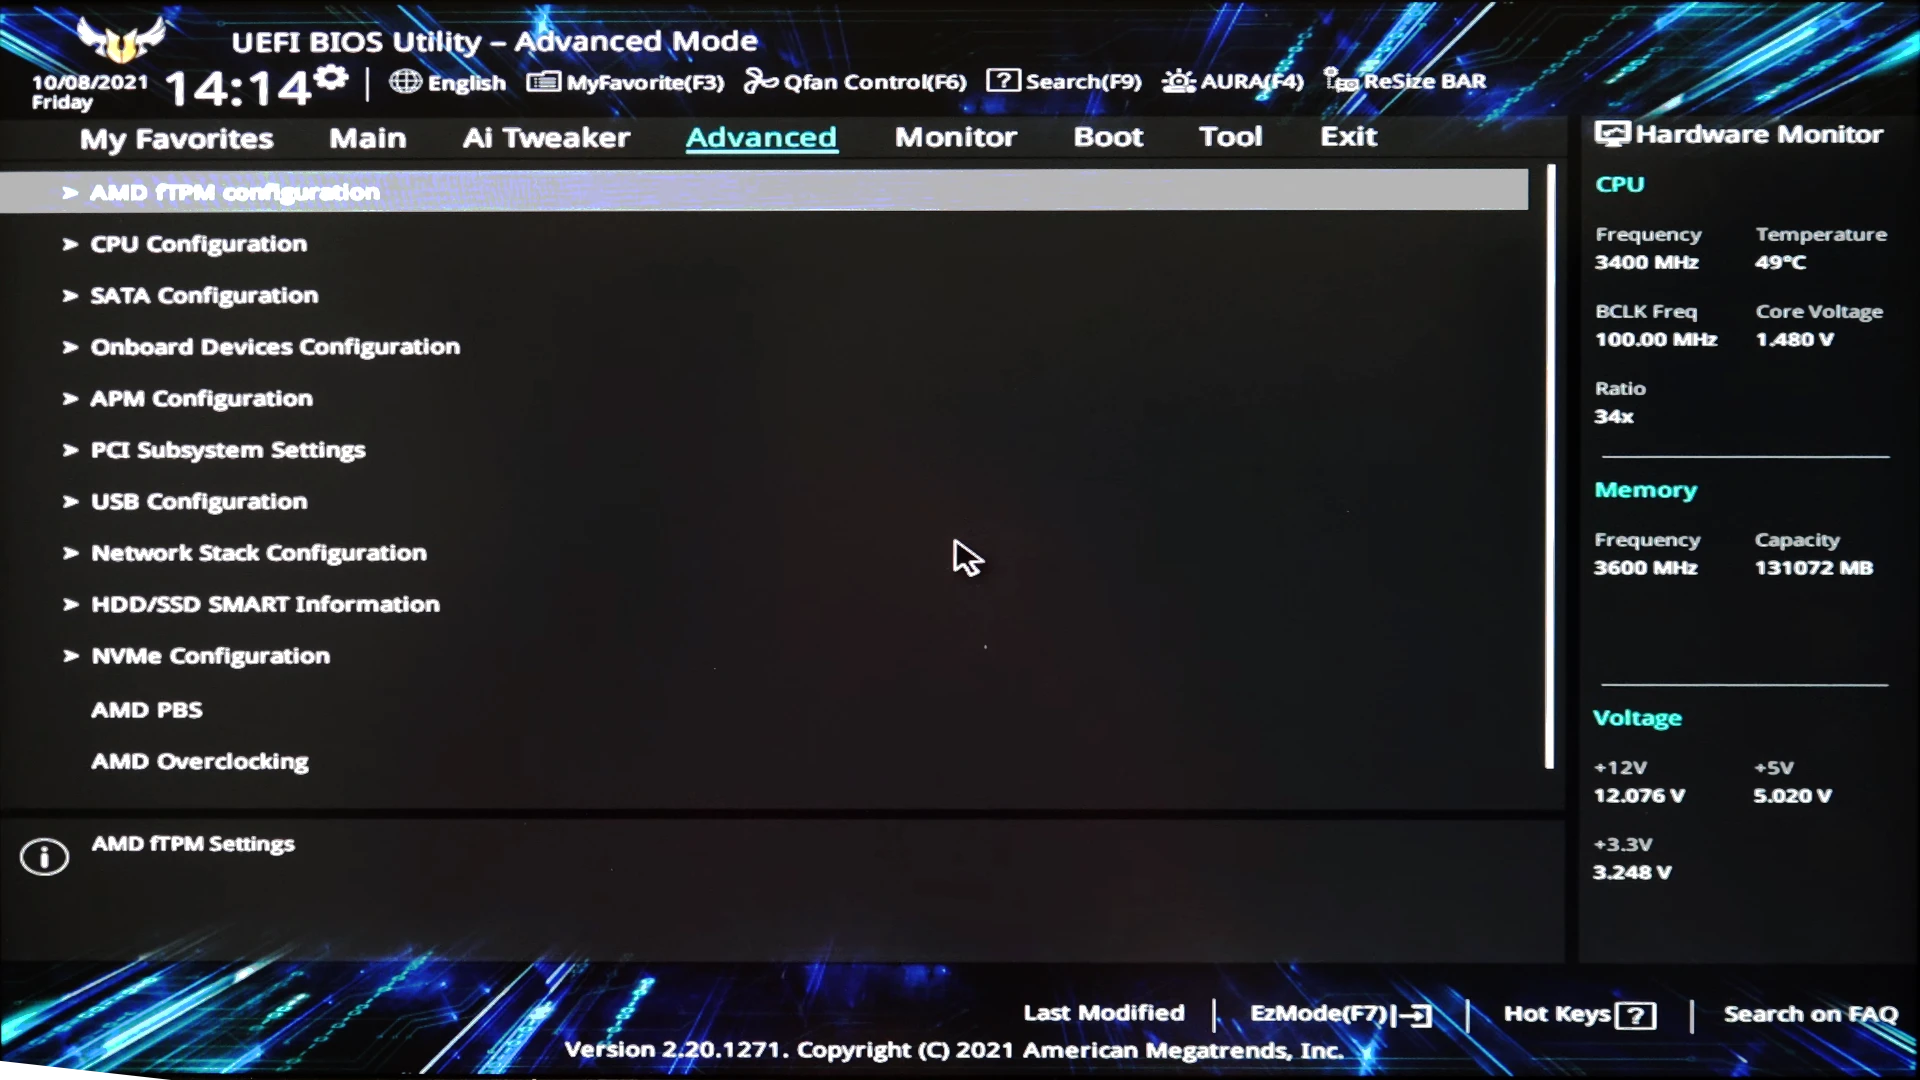
- Select and open either
PCH-FW Configuration(Intel) orAMD fTPM configuration(AMD) - For Intel devices: Set
PTTtoEnabledand For AMD devices: SetFirmware TPM SwitchtoEnable Firmware TPMorDiscrete TPM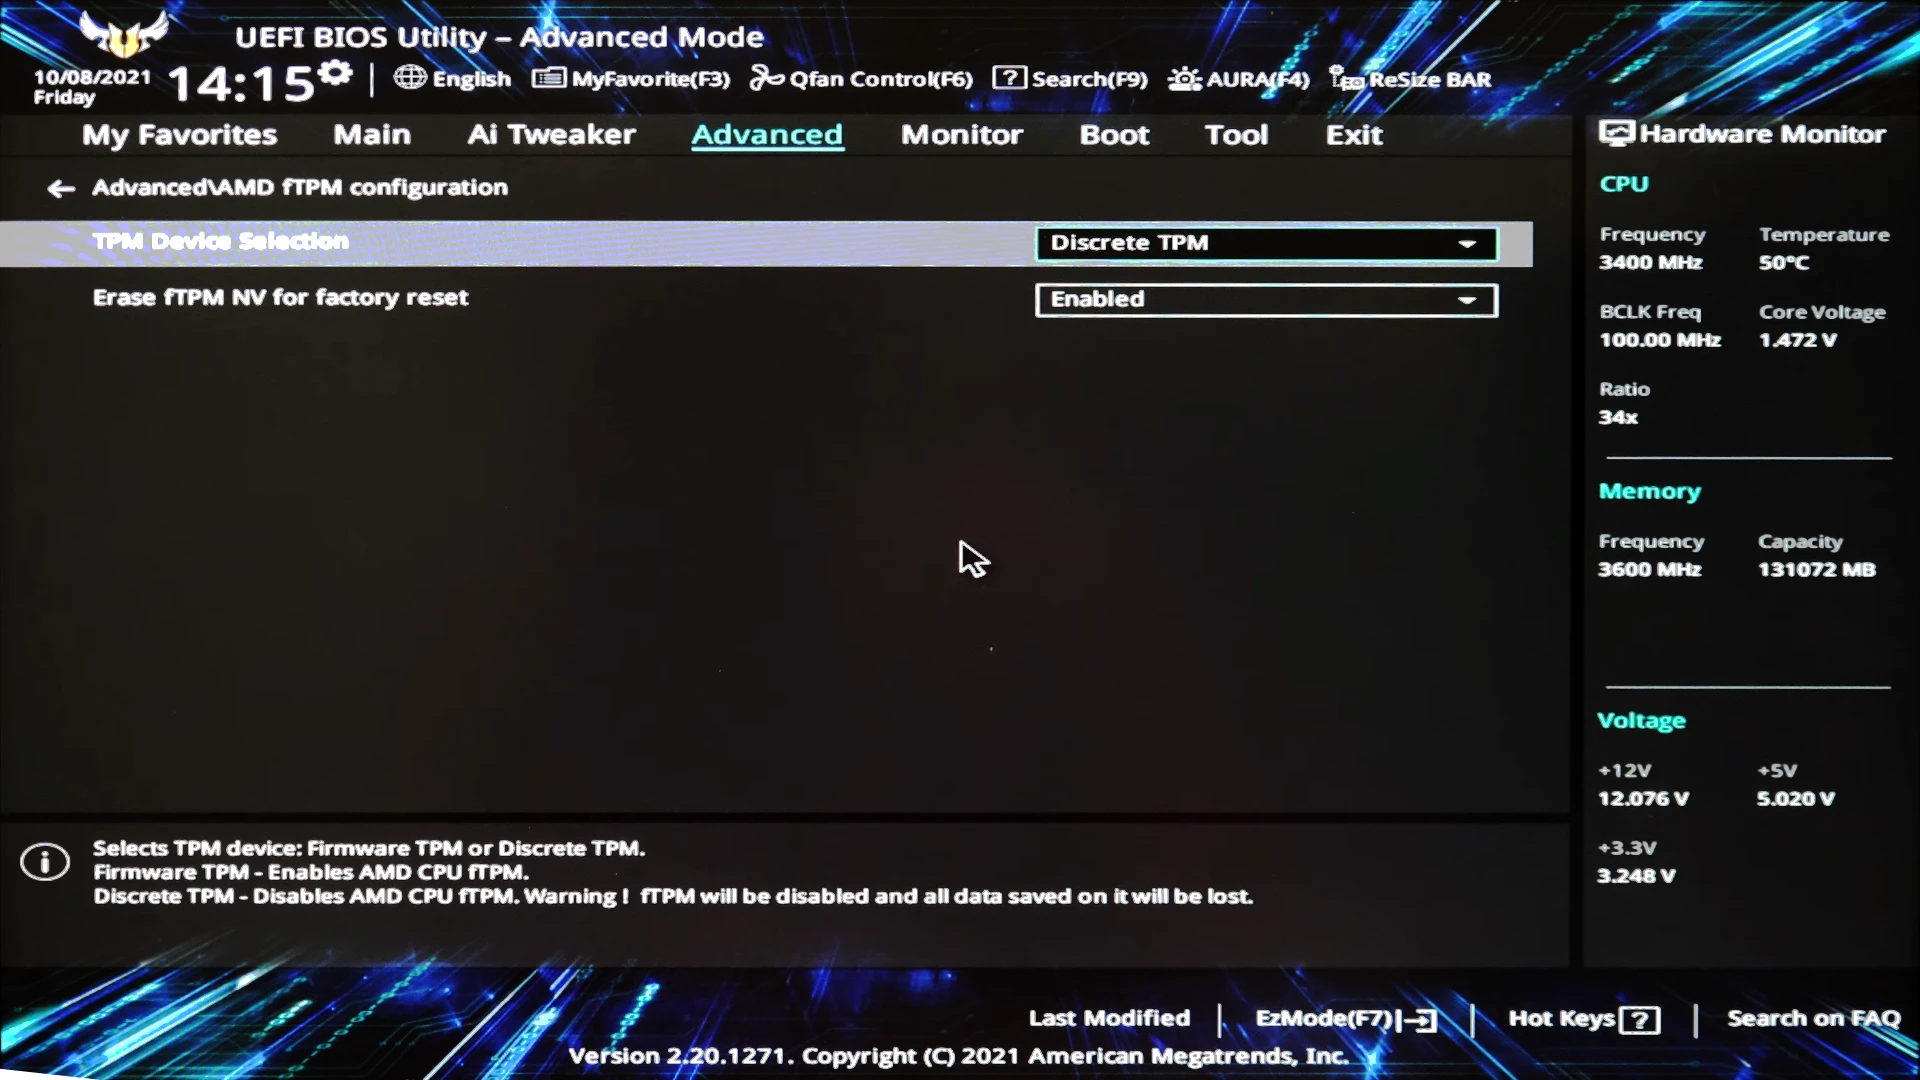
Save and Exit
Hit Escape, and use the Right arrow to get to the Exit tab. Choose Save Changes & Reset (Reset refers to the power, not your configuration!).
Your system should now reboot with UEFI, Secure Boot and TPM all enabled.

