
Why enable UEFI mode?
UEFI mode is the newer more powerful version of BIOS. Most modern systems are able to boot in UEFI mode.
UEFI is required to use features like Secure Boot, which is becoming increasingly required by software and Windows.
Specifics
This guide was created with newer ASUS ROG motherboards. Steps might vary slightly based on your system specs, so make sure to Google <Your motherboard> enable UEFI if this guide does not help you get everything going.
Your system drive must also be set to GPT instead of MBR. If you’re not sure what your system drive is, or need to convert it: See Convert MBR drives to GPT.
Enabling UEFI mode on ASUS ROG Motherboards
Assuming you’re using a GPT drive, let’s get going!
Reboot into firmware settings
If you’re logged into Windows:
- Open this guide on another device, as your system will only show firmware settings when you’re in the UEFI/BIOS settings screen.
- Press
StartorWindowsand search forCMD. OpenCommand Promptas Administrator. - Type:
shutdown /r /fwand press Enter to reboot your system directly into your firmware settings.
If you’re on Bazzite or Steam OS on an Ally handheld:
- In the Steam menu: Choose Power and then get ready to press Restart.
- Hold the volume down button, press restart and confirm. Make sure to hold the power button as it restarts.
- When the logo shows, while the volume down button is held: You will boot into the BIOS settings.
Alternatively:
- Reboot your system as normal.
- While booting: when you see your motherboard’s logo there is usually text below saying
Press F2,F12,Deleteor any other combination of buttons to enter Settings, BIOS or UEFI. Press that key while still on this screen. - You should now be in your BIOS/UEFI settings ready to adjust your configuration.
On my system I needed to press F2.
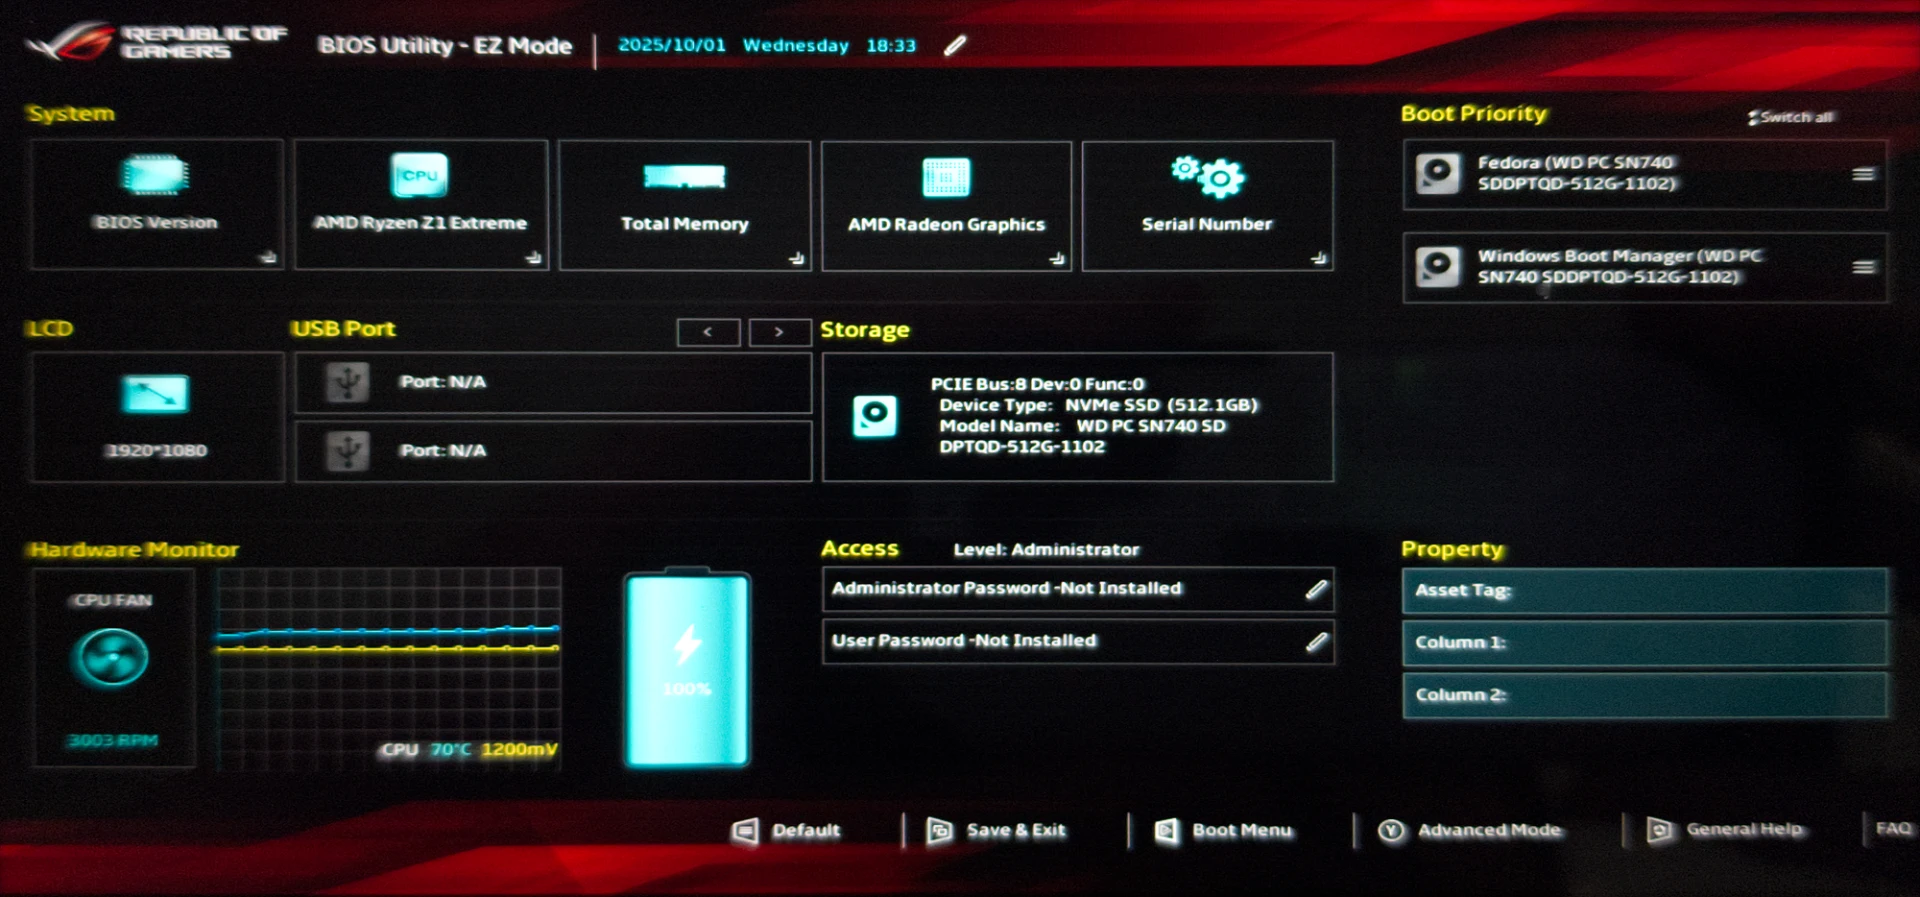
You should now be on your BIOS/UEFI Configuration Screen
Enable UEFI mode
This is displayed slightly differently - even from motherboard to motherboard from the same manufacturer.
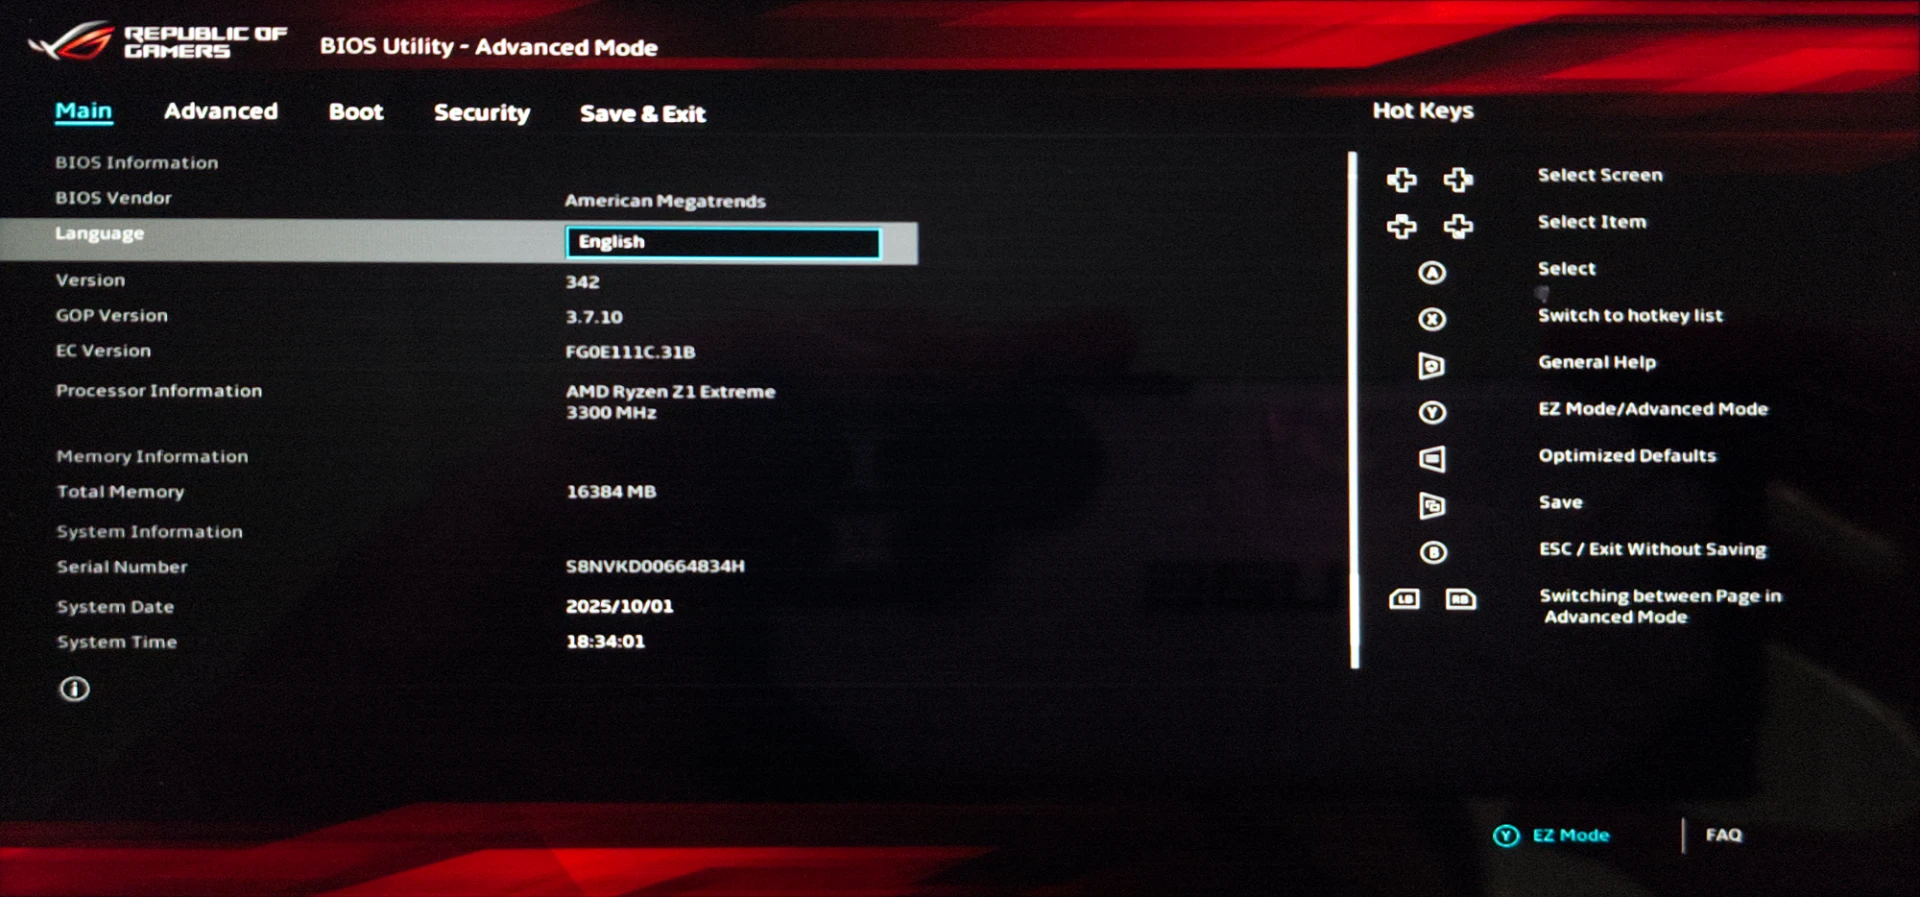
- Enter the Advanced Mode (you’ll see it at the bottom-right). Press the key, button, then click or tap Advanced Mode.
- Use the arrow keys, click or tap the Boot tab at the top of your screen
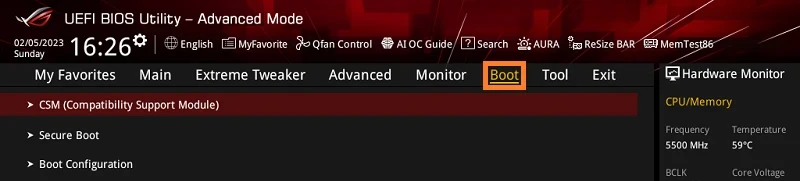
- Click on
CSM (Compatibility Support Module), and inside setLaunch CSMtoDisabled. - Click
Launch CSMand set it toDisabled. This will turn off Legacy mode, and enable UEFI mode. - Head back to the
Boottab. SelectSecure Bootand next toOS TypeselectWindows UEFI Mode. Skip this step if you’re using Bazzite, Steam OS or anything else that is not Windows (There may be incompatabilities)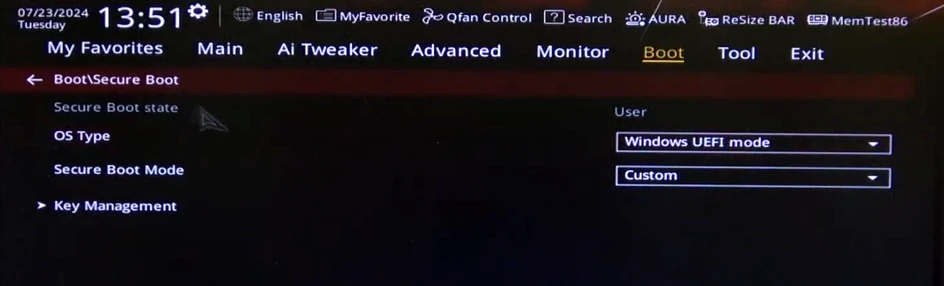
- Head to the Exit tab. Choose
Save Changes and Exit.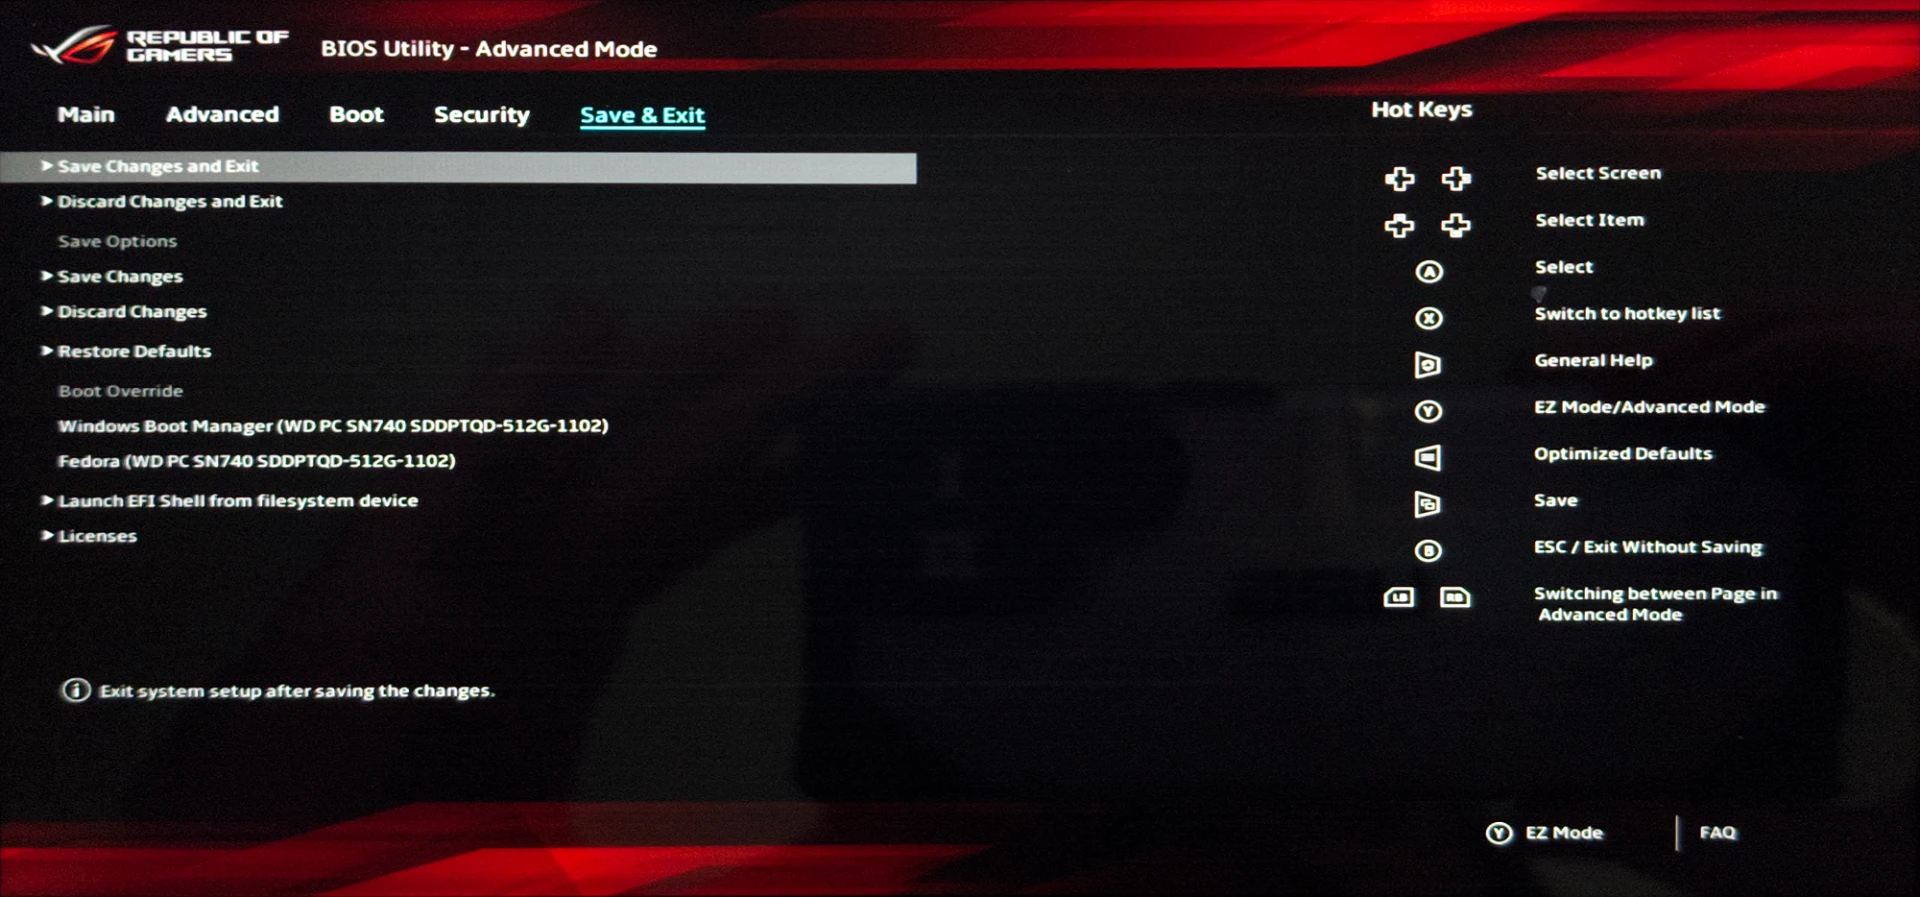
You should now boot into Windows with UEFI mode enabled!
