
Watch the video:
0:00 - Explanation
0:25 - Hide recently opened files
Hide Recent Files in the Start Menu | Simple Windows 11 Guide
Are you tired of seeing recently accessed files cluttering up your start menu on Windows 11? In this quick guide, we’ll show you how to hide these files and have more control over the start menu.

Hiding recent files from the Start Menu
First, open the settings by hitting the start button, then head to “Personalization” and select “Start”. Scroll down and untick the option “Show recently opened items in jump lists on Start or the taskbar” and “Show recently opened items in File Explorer”. Additionally, you may also want to untick “Show recently added apps” so that the start menu is completely empty.

One way to further customize your start menu is by enabling more pins. By default, the start menu shows several pinned items, but you can increase this number to have more control over the items that are displayed.
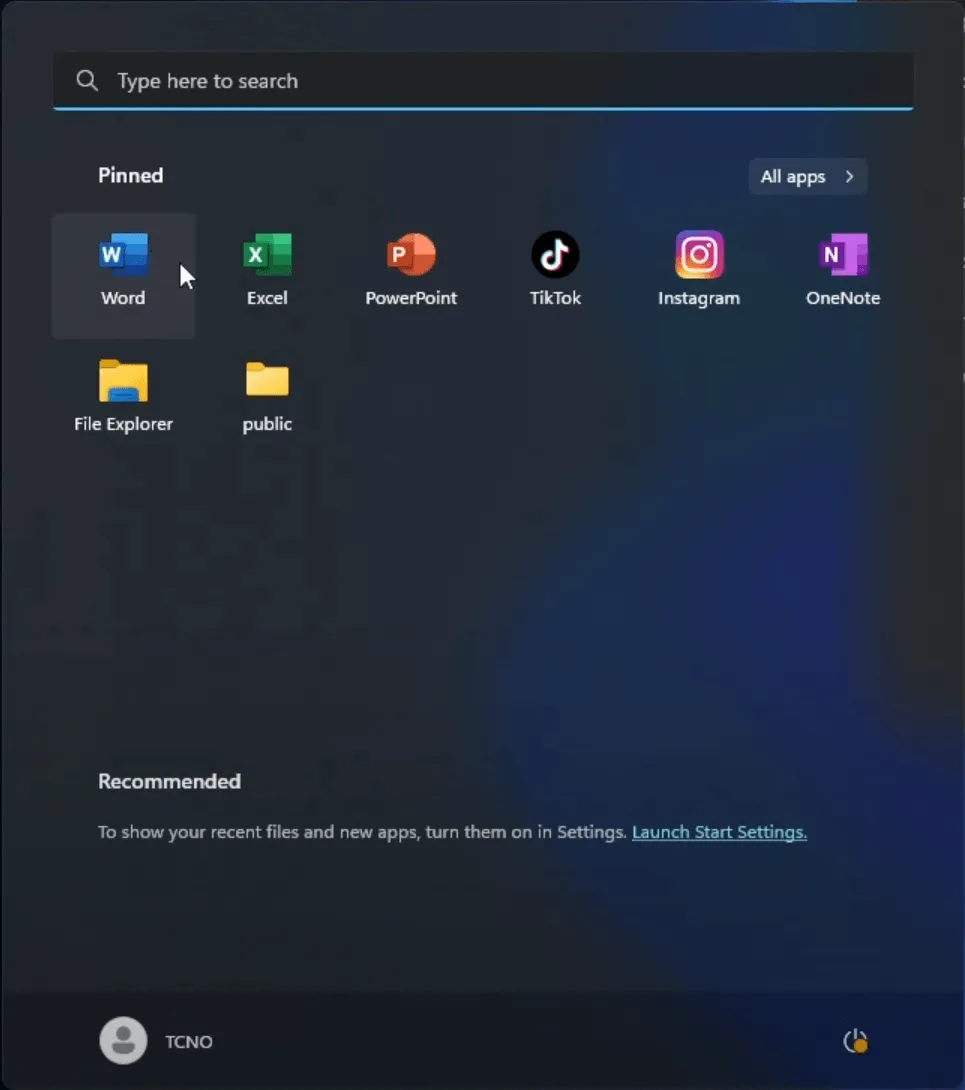
It’s worth noting that in Windows 11, you cannot completely get rid of the bottom section of the start menu, but by following the above steps, you can make it less cluttered and have more control over the items that are displayed.
Custom solutions
If you want more control over the start menu, you can use third-party software like Start11, Bring back old Start or any other similar software.
Overall, hiding recently accessed files on the start menu in Windows 11 is a simple process that can be done through the settings. By unticking certain options and enabling more pins, you can have a cleaner and more organized start menu.
